
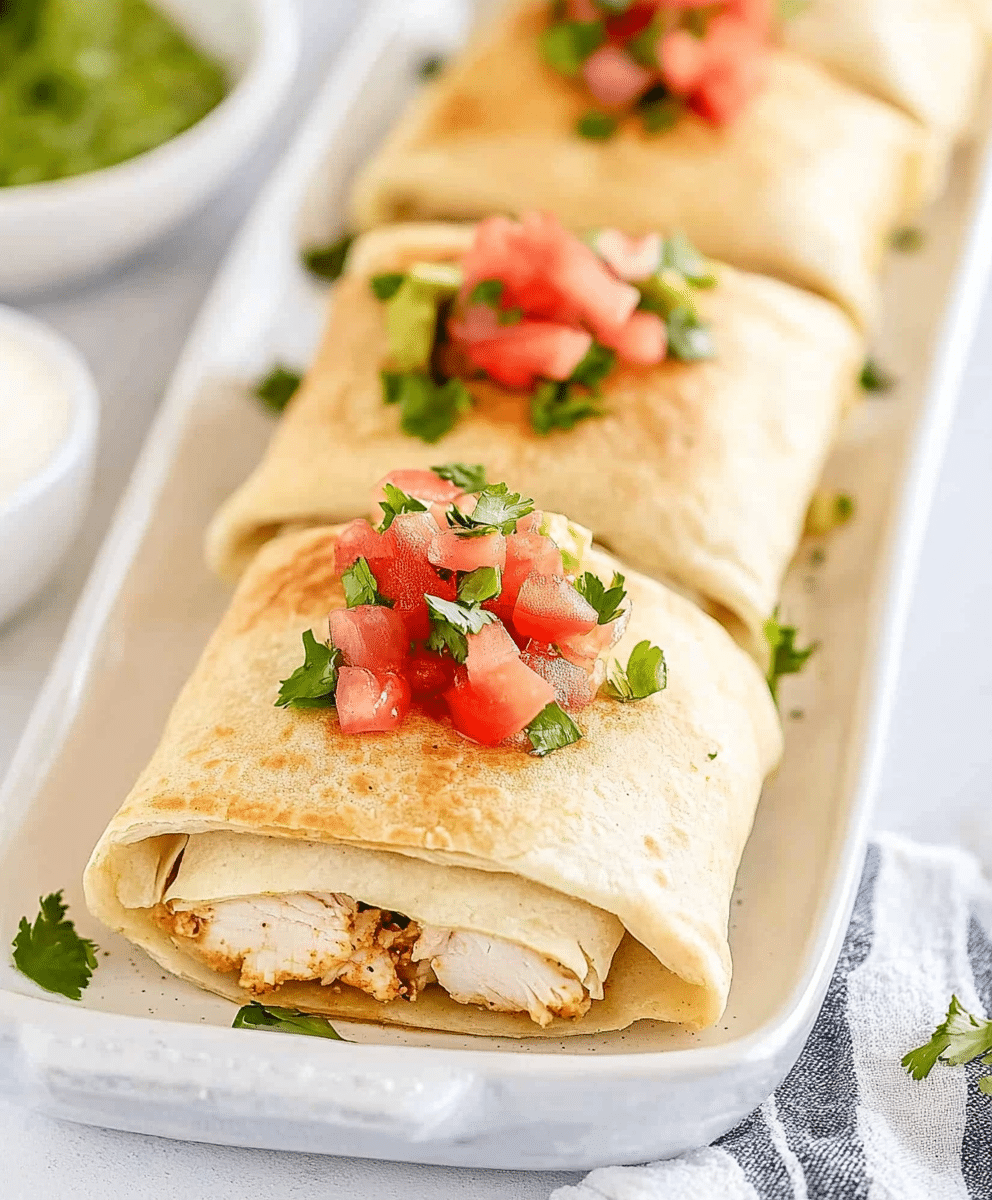
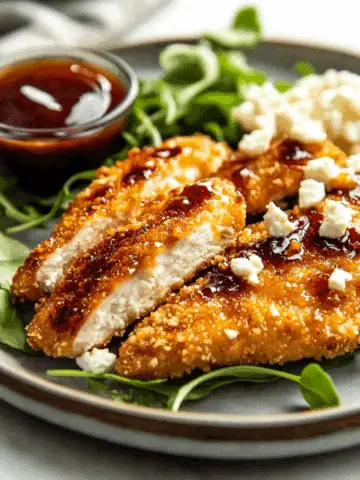
There's nothing quite like biting into a golden, crispy chimichanga filled with juicy chicken, melty cheese, and bold Mexican spices. This oven-baked version delivers all the crunch you love—without the mess or extra calories from deep frying.

I discovered this lighter take during a week when my stovetop was out of commission. Out of necessity, I wrapped up some leftover chicken, popped it in the oven, and was blown away by how satisfying it turned out. It’s now a regular on our dinner rotation for good reason—fast, family-friendly, and just plain delicious.
Let’s walk through why this Baked Chicken Chimichangas recipe deserves a permanent spot on your weekly meal plan.
Why You'll Love This Baked Chicken Chimichangas Recipe
Get ready to add a new go-to to your weeknight repertoire. These baked chicken chimichangas are the perfect mix of convenience and comfort food.
First, they’re incredibly simple to throw together. You can have everything prepped and in the oven in under 20 minutes, which is ideal when you’re juggling homework help or just trying to relax after a long day.
They’re also a lighter alternative to the traditional deep-fried chimichanga. Baking them at high heat gives you that crisp exterior without the grease, keeping things both tasty and a little healthier.
Let’s not forget how budget-friendly they are. Using pantry staples like tortillas, canned beans, and pre-cooked chicken means you can feed a crowd without breaking the bank.
And if your household is anything like mine, flexibility is key. These chimichangas are endlessly customizable—swap the chicken for beef, throw in some veggies, or go all-out with extra toppings. Everyone can make theirs just the way they like it.
Now, let’s take a closer look at what makes these ingredients so special.
Ingredient Notes
The magic of these baked chicken chimichangas lies in the balance between creamy, spicy, and crispy elements. Each ingredient brings something important to the table.
Start with shredded cooked chicken—this can be rotisserie, leftover grilled chicken, or even slow-cooked chicken breast. The key is making sure it’s well-seasoned and juicy. If it's a bit dry, mixing it with salsa or a spoonful of sour cream helps bring back moisture.
Next, you’ll need refried beans. They serve as the creamy base that holds everything together inside the tortilla. You can use canned refried beans for ease, or make your own if you want to boost the flavor with garlic and cumin.
Cheese is where things get melty and irresistible. I prefer a blend of cheddar and Monterey Jack for just the right balance of sharpness and meltability. Don’t skimp here—the gooey cheese pull is half the fun.
Then we have the flour tortillas, which act as the crisp, golden shell. Burrito-size tortillas work best, giving you plenty of room to fold without tearing. For best results, warm them slightly before rolling to make them more pliable.
You’ll also need a few extras like olive oil spray or melted butter to brush on top before baking. This helps mimic that fried texture and gives the chimichangas their signature crunch.
As for equipment, you just need a good baking sheet, parchment paper for easy cleanup, and a hot oven. No special tools required!
How To Make This Baked Chicken Chimichangas Recipe
Making these chimichangas is a straightforward process that’s perfect for both beginners and seasoned cooks alike. With just a few steps, you'll have a tray full of golden goodness ready to serve.
Start by preheating your oven to 400°F. While the oven heats, set up your workstation with all your fillings. Lay out the tortillas, chicken, beans, and cheese assembly-line style to make the process smooth and efficient.
Warm each tortilla in the microwave for about 10 seconds to make them more flexible. Then, spoon a layer of refried beans down the center, followed by a generous portion of shredded chicken and a sprinkle of cheese. Be careful not to overfill—too much stuffing makes them hard to roll and more likely to burst open during baking.
To roll, fold in the sides of the tortilla, then roll it up tightly from the bottom like a burrito. Place each one seam-side down on a parchment-lined baking sheet. This helps keep them closed as they bake.
Once they’re all rolled, lightly brush the tops with melted butter or spray with olive oil. This step is crucial for that crisp, golden finish. Pop them into the oven and bake for 20 to 25 minutes, flipping once halfway through to get an even crunch on both sides.
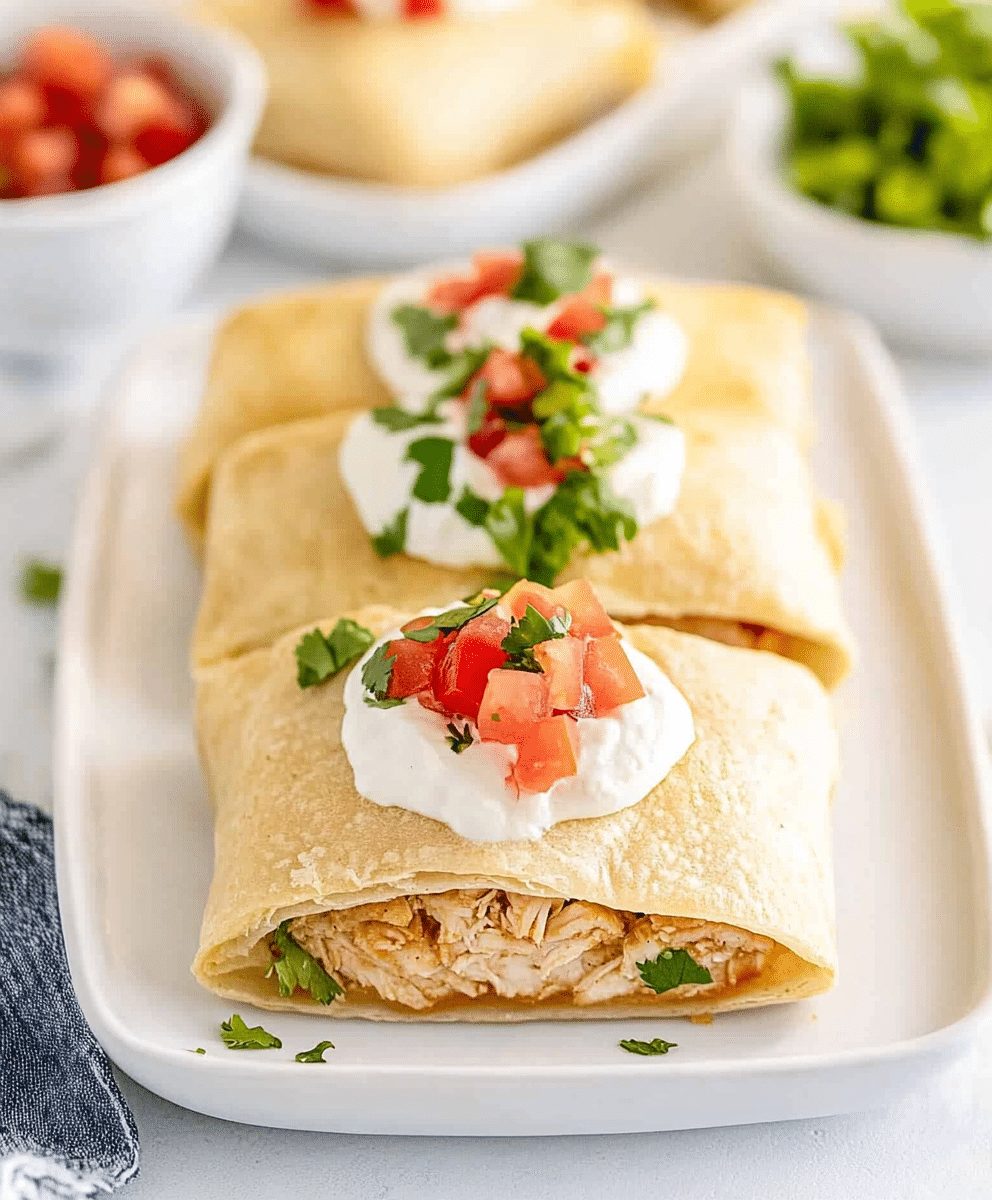
When done, they’ll be crisp and lightly browned, with melty cheese oozing from the edges. Serve them hot, ideally with a side of salsa, guacamole, or sour cream. Total time? Just about 35 minutes from start to finish.
Storage Options
Leftovers—if you have any—store beautifully. Let the chimichangas cool completely before transferring them to an airtight container. They’ll keep in the refrigerator for up to 4 days.
For longer storage, wrap each one individually in foil or plastic wrap, then place them in a freezer-safe bag. They’ll freeze well for up to 3 months. To reheat, bake at 375°F for 20 minutes straight from the freezer, or microwave for 2-3 minutes if you’re short on time.
To maintain that crispy exterior, avoid reheating in the microwave when possible. A quick spin in the oven or air fryer will restore that crunch better than anything else.
Variations and Substitutions
This recipe is incredibly forgiving and easy to adjust based on your tastes or what you have on hand. That’s one of the things I love most about it.
If you’re out of chicken or want something different, try using ground beef or shredded pork instead. Just make sure it’s fully cooked and seasoned before adding to your tortillas.
For a vegetarian twist, skip the meat entirely and fill your chimichangas with black beans, corn, sautéed peppers, and extra cheese. It’s hearty, satisfying, and perfect for Meatless Monday.
If you prefer a bit of heat, mix chopped jalapeños or a spoonful of chipotle peppers in adobo into your chicken or beans. You can also use pepper jack cheese for an extra kick.
Want to go low-carb? Swap the tortilla for a low-carb wrap, or try using large collard green leaves for a fresh, green version.
And of course, don’t be afraid to get creative with toppings. Drizzle with queso, load them with guacamole, or serve alongside a zesty lime crema. The possibilities are endless.
PrintBaked Chicken Chimichangas Recipe
This easy Baked Chicken Chimichangas recipe is a healthier twist on a Mexican classic! Packed with shredded chicken, spices, cheese, and wrapped in a crispy baked tortilla, these chimichangas deliver all the flavor without deep frying. Perfect for a quick family dinner or meal prep. Enjoy a satisfying crunch with every bite while keeping it light.
- Prep Time: 15 minutes
- Cook Time: 25 minutes
- Total Time: 40 minutes
- Yield: 6 chimichangas
- Category: Dinner, Main Course
- Method: Baking
- Cuisine: Mexican, Tex-Mex
- Diet: Gluten Free
Ingredients
-
2 cups cooked shredded chicken
-
1 cup shredded cheddar or Mexican blend cheese
-
½ cup salsa
-
¼ cup sour cream
-
1 tsp ground cumin
-
½ tsp garlic powder
-
Salt and pepper to taste
-
6 large flour tortillas
-
Cooking spray or olive oil for brushing
Instructions
-
Preheat oven to 400°F (200°C). Line a baking sheet with parchment paper or lightly grease it.
-
In a bowl, mix shredded chicken, salsa, sour cream, cheese, cumin, garlic powder, salt, and pepper.
-
Warm tortillas slightly to make them pliable. Place ⅓ cup of the filling in the center of each tortilla.
-
Fold the sides in, then roll up burrito-style and place seam-side down on the baking sheet.
-
Lightly brush each chimichanga with olive oil or spray with cooking spray.
-
Bake for 20–25 minutes, flipping once halfway through, until golden and crispy.
-
Serve hot with guacamole, salsa, or sour cream.
Notes
-
Use rotisserie chicken for a time-saving shortcut.
-
Add black beans, corn, or jalapeños to the filling for extra flavor.
-
Freezes well—great for make-ahead meals.
Nutrition
- Serving Size: 1 chimichanga
- Calories: 310
- Sugar: 2g
- Sodium: 480mg


Leave a Reply